 Are you looking for an eco-friendly cooking method, a way to cook food in an emergency, or when the power is out? I discovered the EcoZoom company when looking for all three. Actually, I was actually looking for another method to can produce (post to come later), but I am always on the search for eco-friendly cooking options and methods that can be used when the power is out or if there was an emergency/disaster. When I read that EcoZoom stoves take wood, dried biomass, or charcoal, I knew I had found what I was looking for. EcoZoom stoves are fuel-efficient and clean burning, allowing you to cook a complete meal using only a few sticks or charcoal briquettes.
Rating: total green check marks out of 5.
The
Good
|
The
Not So Good
|
Eco-friendly packaging
|
Takes a few tries to get the fire going
|
Fuel-efficient
|
|
Easy to use by anyone
|
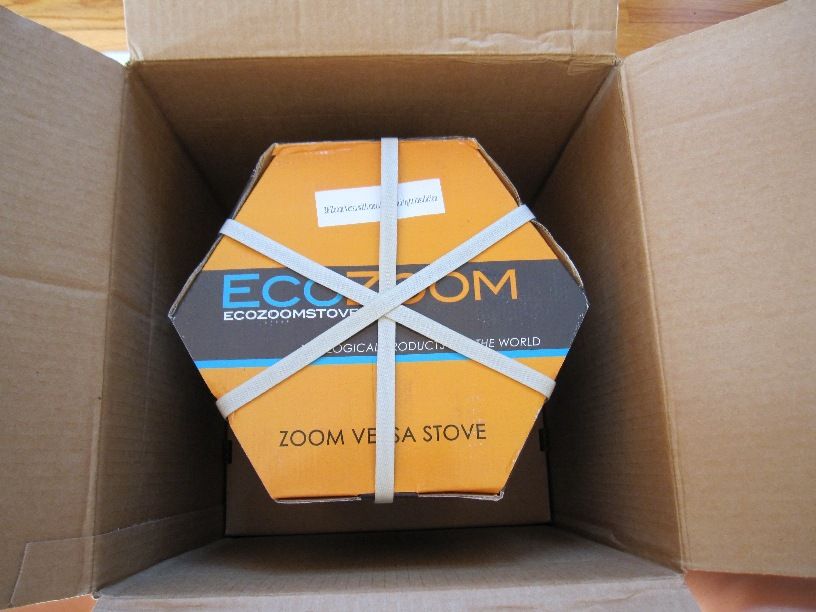 Let’s start off with the packaging. Why is packaging important? With the increased amount of items I order online, the recycle bin and the trash fill up quickly. I am disappointed when I receive a package from a "green" company and it is filled with styrofoam peanuts. Eco-friendly, recyclable, and even reusable packaging is very important to me. I was pleasantly surprised about the minimal use of packaging by EcoZoom and that I could recycle 99% of it. The only plastic was the tape on the outside box and plastic strips around the EcoZoom Stove box itself.
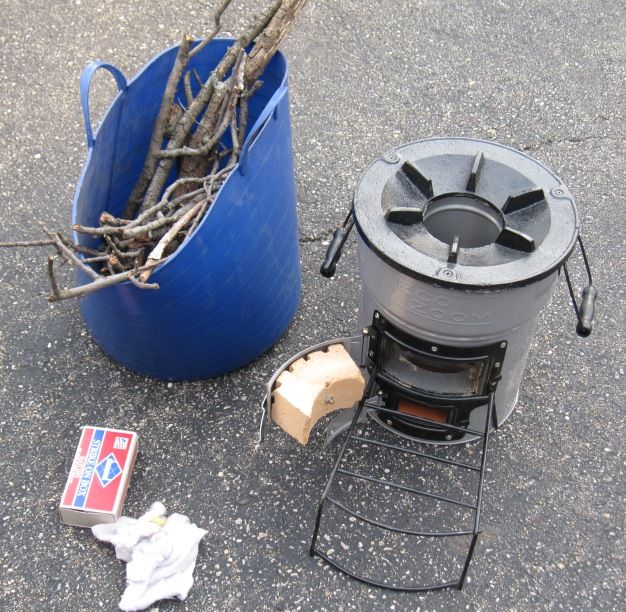
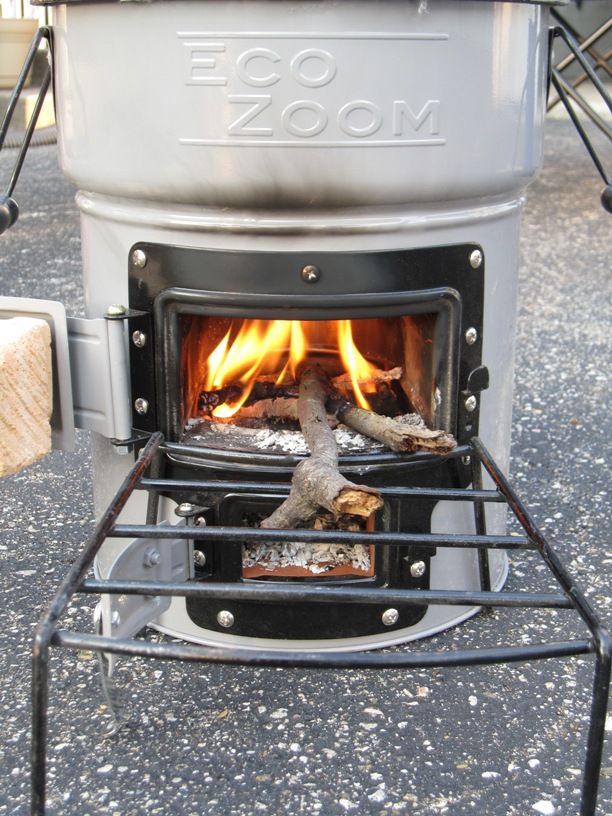
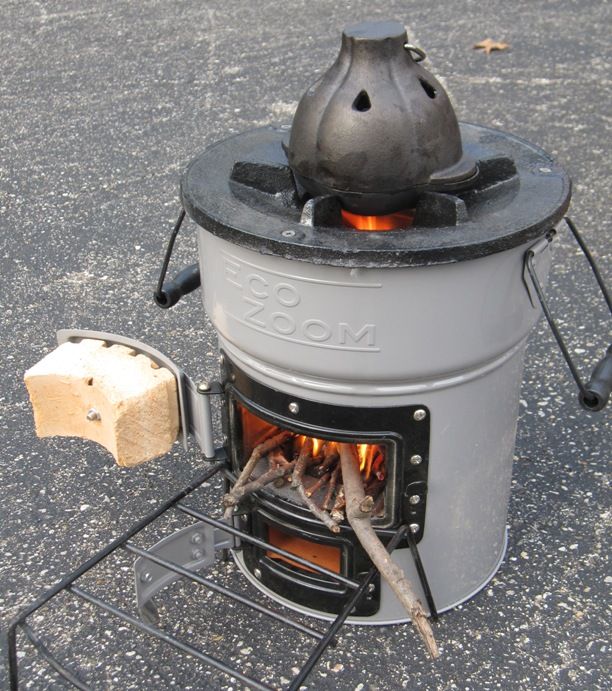
The stove weighs 18 pounds, but I had no trouble getting it out of the packaging and carrying it outside. I set the stove in the middle of the driveway. After doing research online, I figured out the steps to get a fire going. I knew that the EcoZoom stove would be perfect for our house because we have a lot of mature trees, which equates to lots of sticks of various sizes. I walked around the yard and picked up sticks for kindling and for keeping the fire going.
Here are the steps we took to get our fire started:
Open up both compartments (damper and main compartment). Gather your cooking fuel (wood, dried biomass, or charcoal) and keep close. (I would also recommend a good sized box of matches)
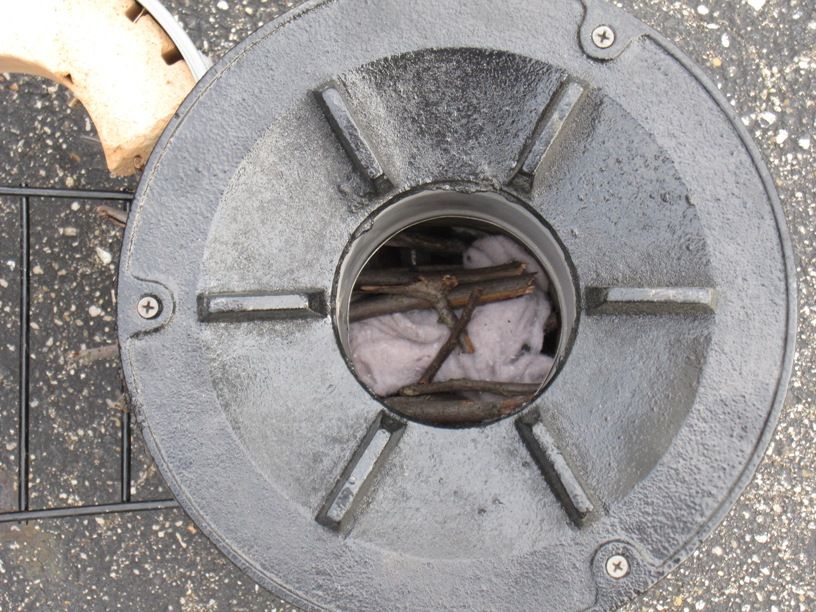
Build kindling from dryer lint or newspaper and about 3-4 thin wooden sticks (about the thickness of a pencil). We started off with dryer lint, which burned out quickly. I then added the newspaper on the bottom and in the middle of the sticks. Newspaper worked like a charm.
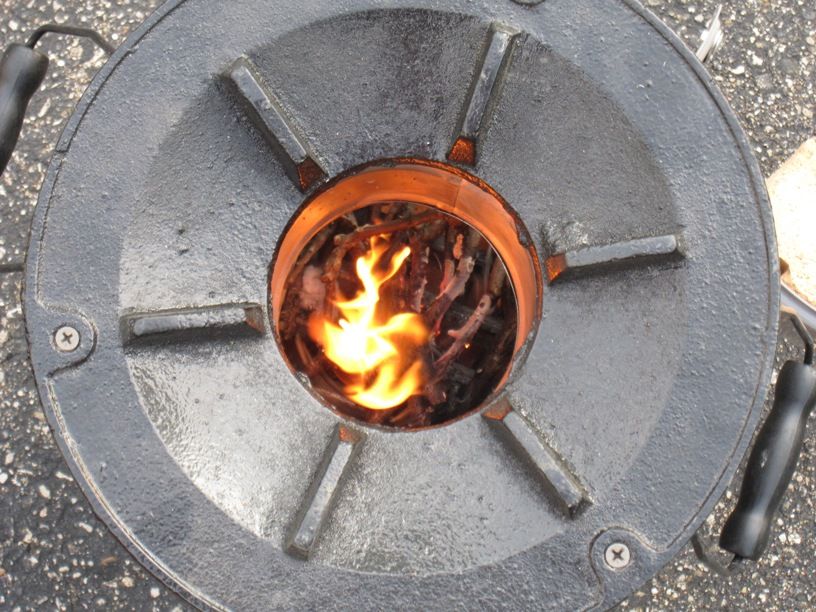
Use a match, lighter, or flint to light the kindling, specifically focusing on lighting the dryer lint or newspaper. Of course, lighting 10 matches and putting them inside also helps with kindling and getting the fire started. LOL
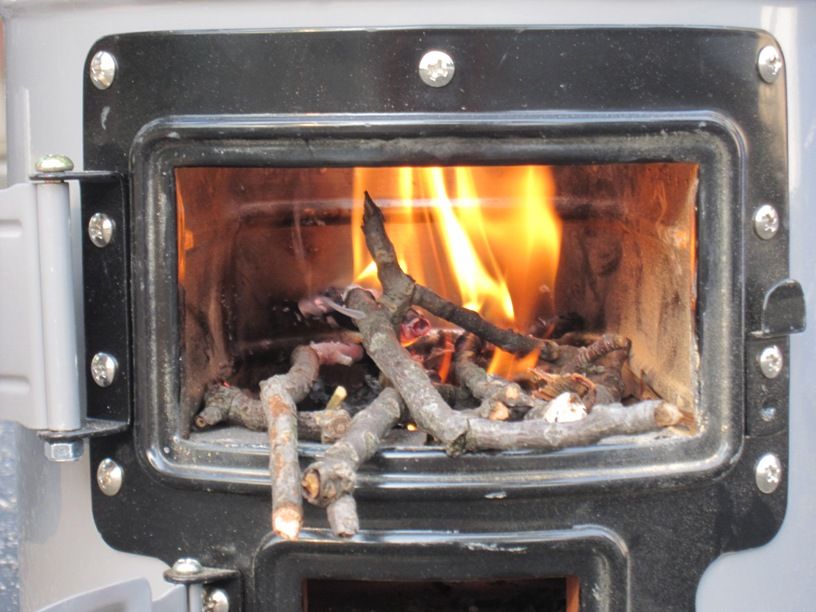
Once the wood catches fire and sustains, you can begin cooking.
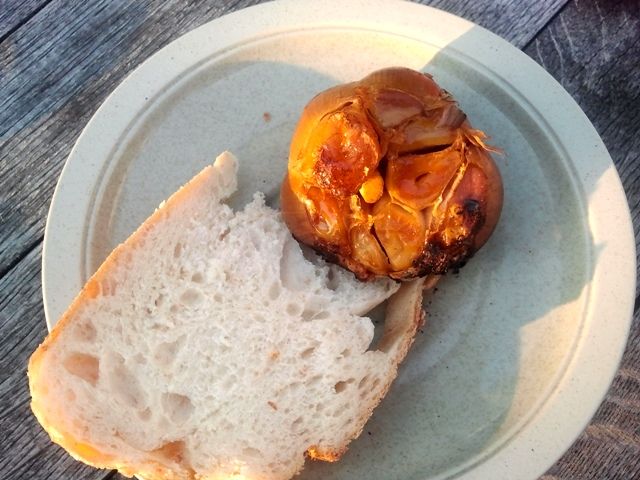
Dish 1: Fire Roasted Garlic. I bought this awesome little contraption made from cast iron to roast garlic heads. The garlic roaster fit perfectly on top of the 6-pronged cast iron stovetop. I cooked the garlic for about 60 minutes, recommended time. I did keep the fire going pretty strong (flames touching the bottom of the garlic roaster). Doesn't the roasted garlic look delicious?!
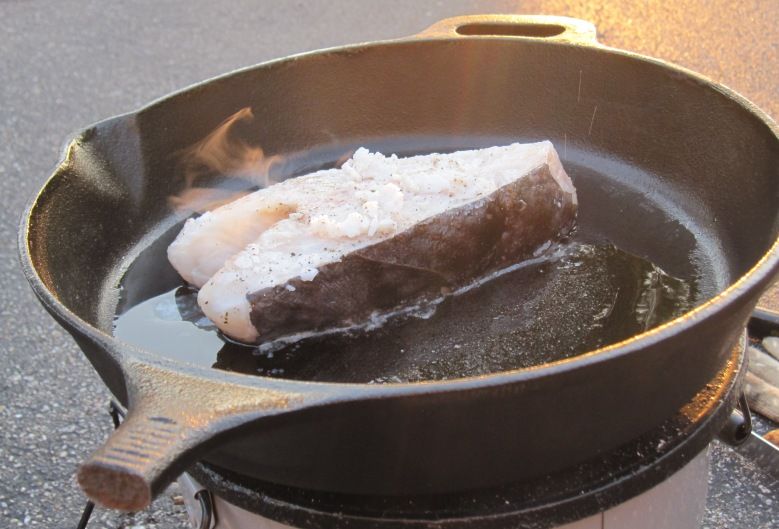
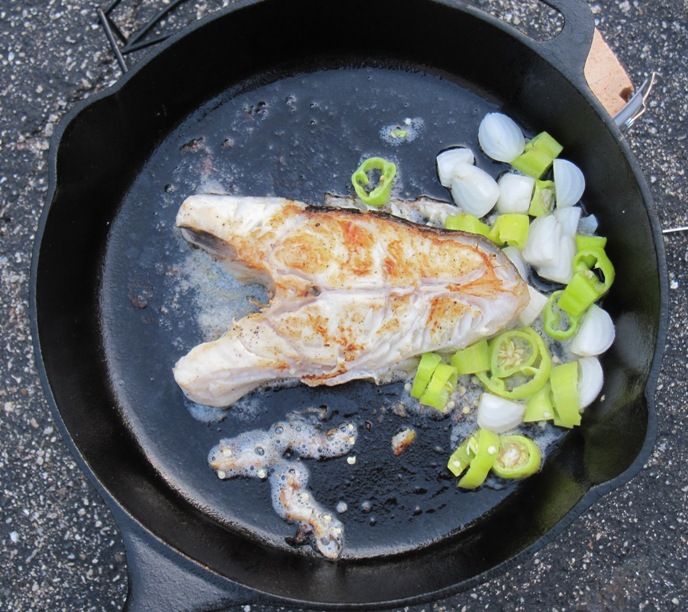
Dish 2: Halibut with peppers and onions in a cast iron pan. About two tablespoons of coconut oil were added and once melted, the fish was put on top. The fire was pretty strong and the fish sizzled. The Halibut got a nice crust on it. Toward the end of the cooking time, I stopped adding more sticks to the fire.
Once you are done cooking, put out the fire by closing the damper and the main compartment.
Lessons learned and takeaways:
- Don’t add too much kindling.
- Keep an eye on the fire, move sticks inside and continue to add thicker sticks to sustain the fire.
- If you need more fire, add more sticks (these are probably the fundamentals of cooking over a fire, but this was my first time doing so).
- Yes, you can burn dried dung. Thank you neighborhood deer!
- It will take some time and more cooking endeavors to figure out the right size of the fire for the right temperature of the dish.
- The cast iron cookware will get sooty, but it washes off with some soap.
- You might be sooty and smoky smelling; take a shower! :)
I must admit that I really enjoyed cooking with the EcoZoom Zoom Versa Lite stove. I wanted to keep cooking all night long. I look forward to the next time I cook with the Zoom Versa Lite stove.
Sitting in the driveway, watching the fire going, and periodically feeding sticks into the fire was very relaxing. The stove is efficient, eco-friendly, and compact. I would highly recommend this stove to anyone, even if you have never cooked over a fire before. It might take some trial and error to get the fire going, but it was easy to sustain the fire and cook a complete meal on the stove.
Disclosure: I received
the sample from the company in order to facilitate my review.
No other compensation was received. I am under no pressure to return the product to the company or to write this review. This product review is based on my
personal experiences. This review is objective and completely honest.
|

